
Notice: I receive compensation if you buy something through affiliate links on this post. This does not change the price you would pay. As an Amazon Associate I earn from qualifying purchases.
You followed the recipe.
It rose.
It browned beautifully.
Then you sliced it. The crumb was tight, heavy, almost gummy.
Dense bread leaves clues. It’s predictable.
And once you understand what controls air, structure, and expansion, you can fix the problem.
Dense Bread Quick Diagnosis
- Tight, heavy crumb → gas did not build or hold well → check proofing, hydration, and gluten development
- Small, packed holes → gas cells stayed small and tight → check proofing, hydration, and dough development
- Dense + gummy slice → bake, cooling, or structure issue → check doneness, cooling, and proofing
- Tighter-than-expected crumb the dough did not stretch enough during rise and bake → check hydration
- Dough tears or spreads → the dough was too weak → check gluten development and shaping tension
- Tight loaf and springy dough → likely too short fermentation → check bulk and final proof
- Flat loaf and fragile dough → the dough likely overproofed → check proofing and handling
- Weak lift and early crust set → early oven expansion was limited → check steam, oven heat, and proofing
- Heavier crumb after shaping → too much bench flour → check flour use and hydration
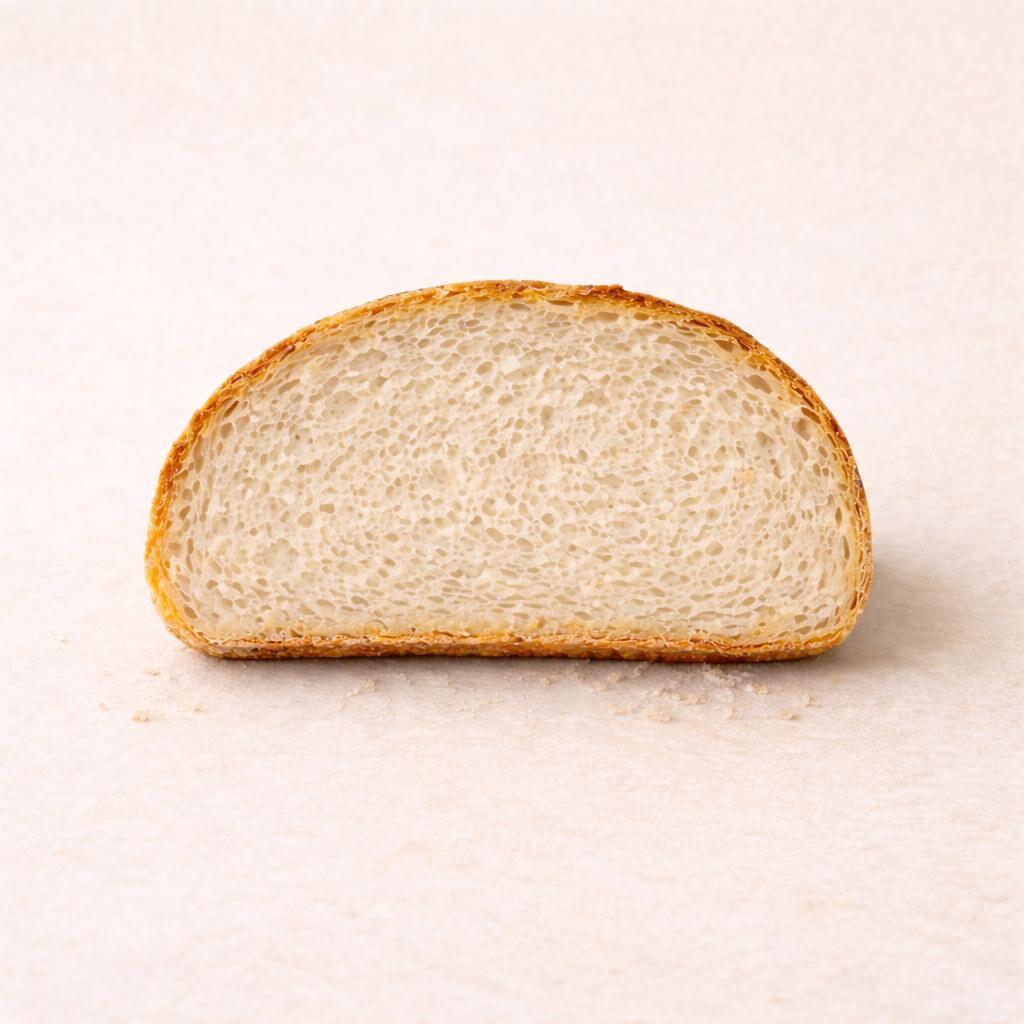
True tight crumb: very small, uniform holes with little expansion.
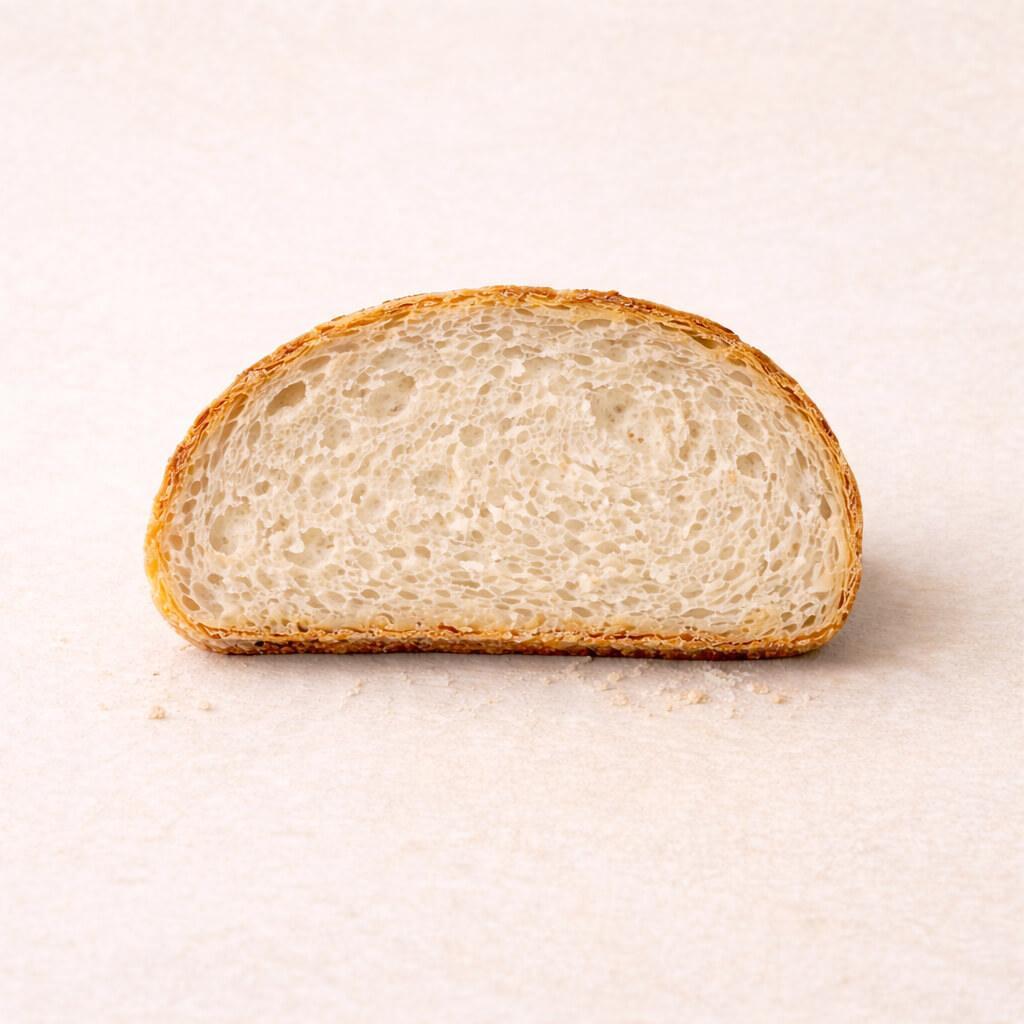
Moderate crumb: small but slightly varied holes with proper expansion.
Table of Contents
What These Dense Bread Signs Mean
When bakers say a loaf is dense, they usually mean more than “it feels heavy.”
Dense bread has visible structural clues. You can often spot them before you even taste a slice.
A loaf can have a finer crumb and still feel light for its size.
What makes bread feel dense is that the interior stayed more compact, less expanded, or heavier than it should for that style of loaf.
Dense bread usually shows up as:
- Tight crumb — small, closely packed holes instead of a lighter, more open interior
- Low oven spring — the loaf barely expands in the oven
- Compressed base — a denser layer near the bottom
- Spread instead of lift — the dough bakes wider and flatter rather than taller and rounder
Those signs point to the same general problem: the loaf did not expand well enough somewhere along the way.
That points to a problem in how the dough built gas, held gas, or expanded in the oven.
That is why dense bread is usually a structure-and-expansion problem, not just a texture issue.
The key mechanics (gas, gluten, heat, steam) are broken down in my baking science guide.
Next, we’ll break that down into the three main levers that control whether bread bakes up light or heavy.
Why Dense Bread Happens: Gas, Structure, and Timing
This section helps you understand which part of the loaf-building chain broke down.
Bread turns out dense when the dough did not build enough gas, could not hold that gas well enough, or lost its chance to expand properly in the oven.
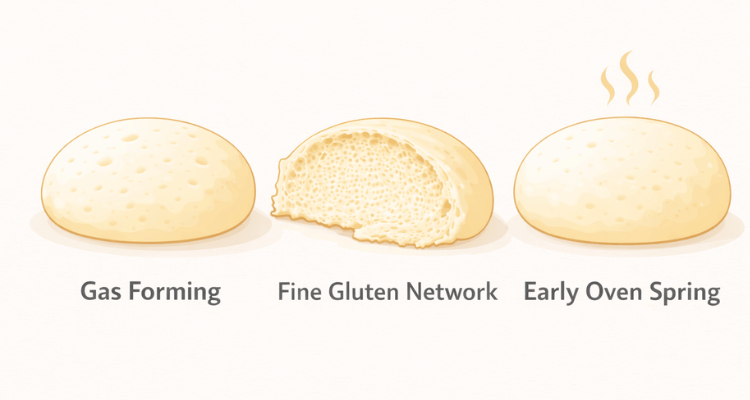
Gas Production: Building Enough Lift Before Baking
Bread needs gas before it can rise into a lighter loaf.
Yeast produces that gas during fermentation, and that is what starts building the bubbles that later expand in the oven.
If the dough does not produce enough gas, the crumb stays tight.
That usually happens when fermentation is not enough.
The dough may have been too cold, the yeast may have been weak, or fermentation may have been too short.
This is why underproofed bread often bakes up dense: the dough went into the oven before it had built enough lift.
Gas Retention: Holding the Bubbles in Place
Making gas is only part of the job. The dough also has to hold it. That depends on gluten development and overall dough strength.
A well-developed dough can stretch around the bubbles and support expansion without losing control.
If the dough is underdeveloped, too dry, or weakened during proofing, it cannot hold gas as well.
The bubbles may stay small, leak out more easily, or collapse instead of helping the loaf rise.
That is why dense bread is often a structure problem, not just a yeast problem.
Expansion in the Oven: Getting the Final Lift
The last part happens in the oven.
Once the loaf goes in, the trapped gas expands quickly. That final lift only works while the dough can still stretch and before the crust sets.
If oven heat is weak, steam is lacking, or the dough has already overproofed and lost strength, that final expansion is limited.
The crust firms up before the loaf can rise fully, and the crumb remains tight.
In the next section, we’ll match those breakdowns to the signs in your loaf so you can tell which one is most likely happening.
What Causes Dense Bread and What to Change Next Time
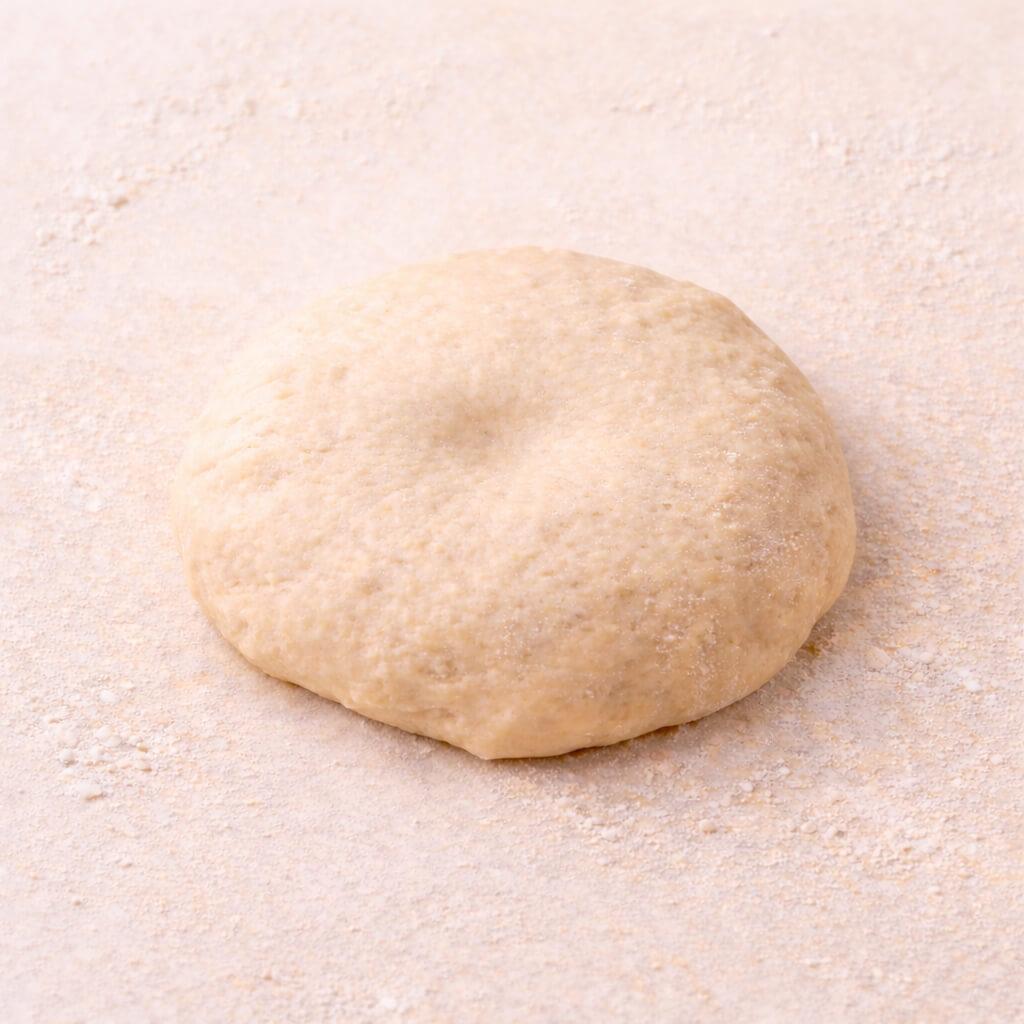
1. Underproofing
Underproofing is one of the most common reasons bread bakes up dense.
The dough went into the oven before it had built enough gas, so the loaf was tight.
You often see the signs both in the loaf and in the dough before baking.
The baked loaf may feel heavier than expected, while the dough may have felt tight and springy,.
What to look for:
- Tight interior with small, compact holes
- Loaf feels heavier
- Crust cracks hard at the sides or seams
- Fast oven spring followed by slight settling
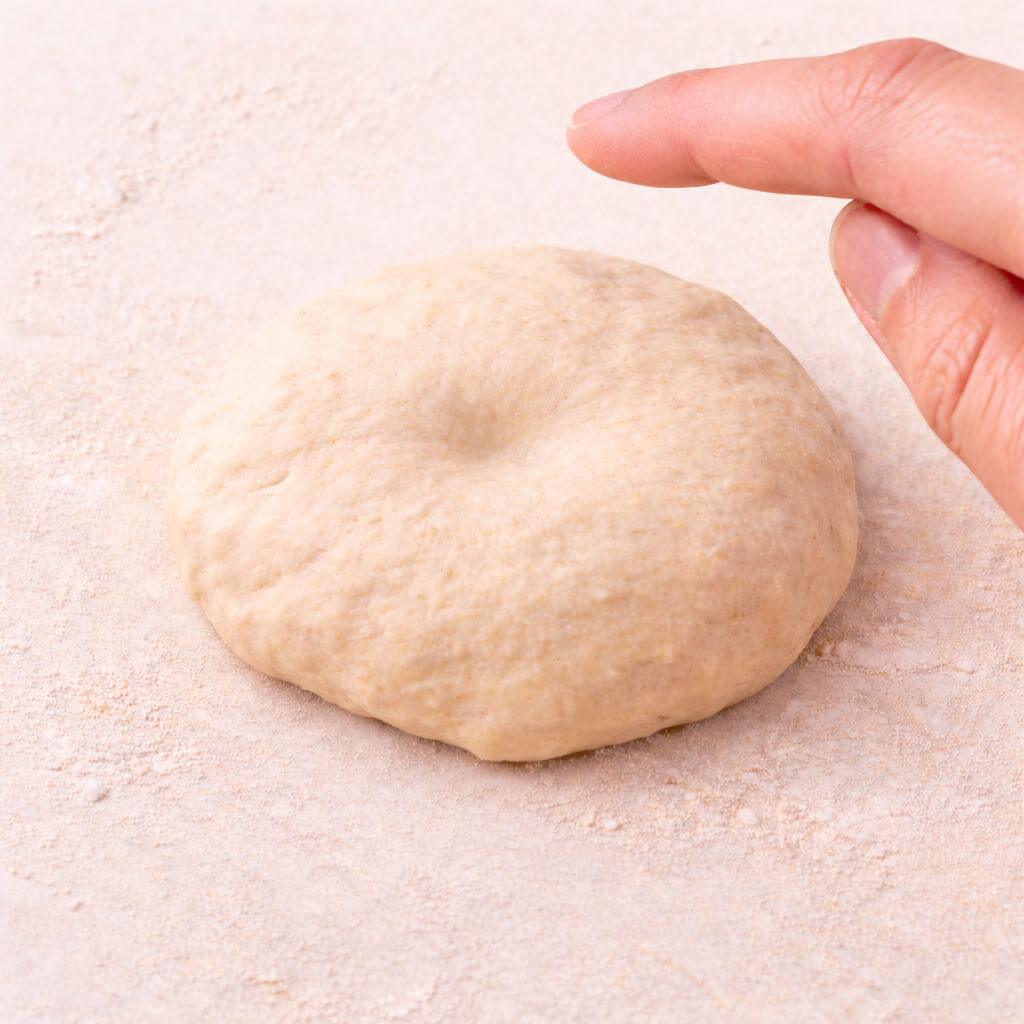
- Dough felt tight and elastic before baking
- Poke sprang back quickly
What to change next time:
- Extend bulk fermentation or final proof
- Use the poke test as one clue, not the only clue
- Watch for fuller shape, softer feel, and light aeration
- Judge the dough by what it is doing, not just by time
If you are not sure whether the loaf baked dense because it was underproofed or because it was overproofed, see Underproofed vs Overproofed Dough for the before-baking signs to compare.
Dense bread can be underproofed or overproofed, but the dough feels different before baking: underproofed dough feels tighter, springier, and more resistant, while overproofed dough feels puffier, weaker, and easier to dent.
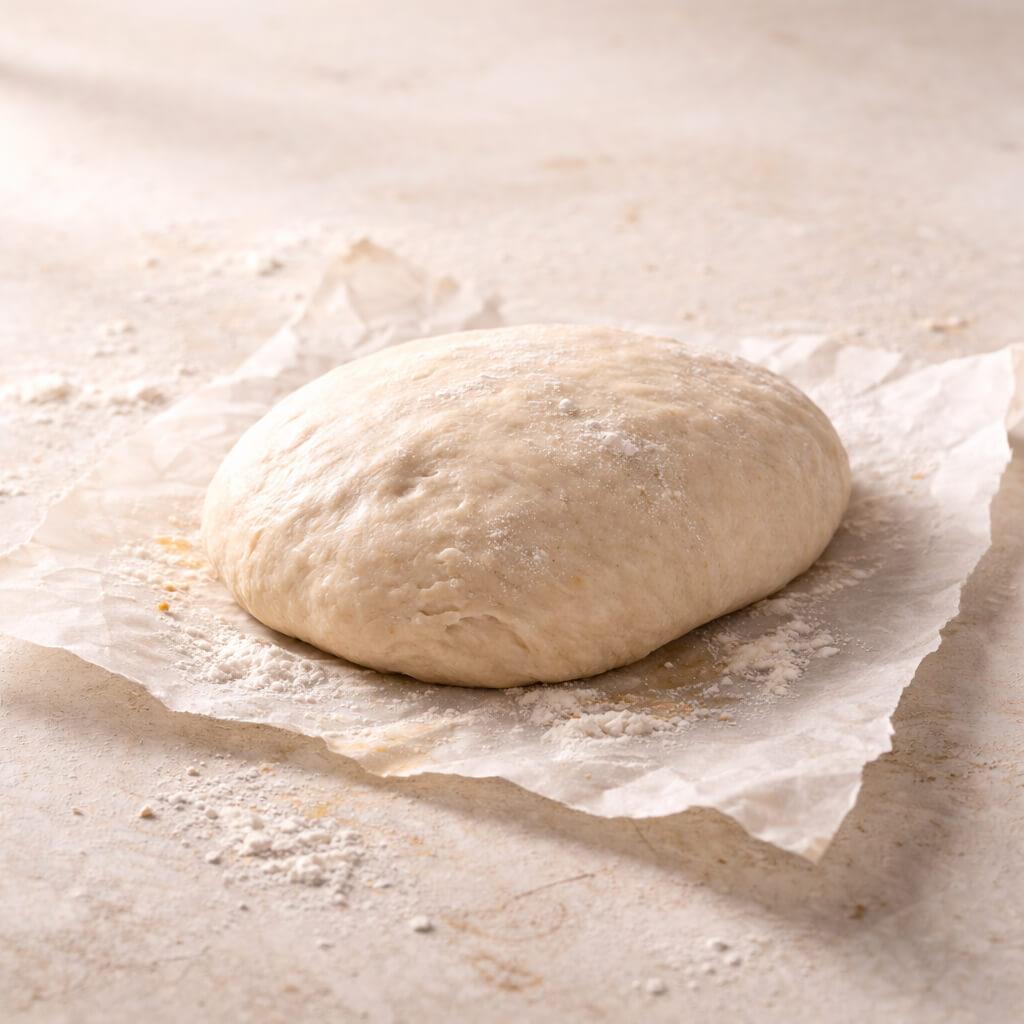
2. Overproofing
Sometimes the dough built too much gas and weakened.
The dough usually feels very airy, fragile, and easy to dent, and it may spread or deflate more easily when handled.
In that case, the problem is not a lack of fermentation. The dough inflated, but the structure cannot support it.
What to look for:
- Dough feels very puffy but fragile
- Poke leaves a dent that barely springs back
- Dough spreads more easily during handling
- Loaf bakes flatter than expected
- Lower half of the loaf looks more compressed
The loaf can turn out dense because the gas is no longer supported well. Instead of lifting in the oven, the structure weakens, and the crumb remains tight.
What to change next time:
- Shorten the final proof slightly
- Bake while the dough still feels airy but supported
- Chill the dough if fermentation is moving too fast
- Handle gently once the dough becomes very puffy
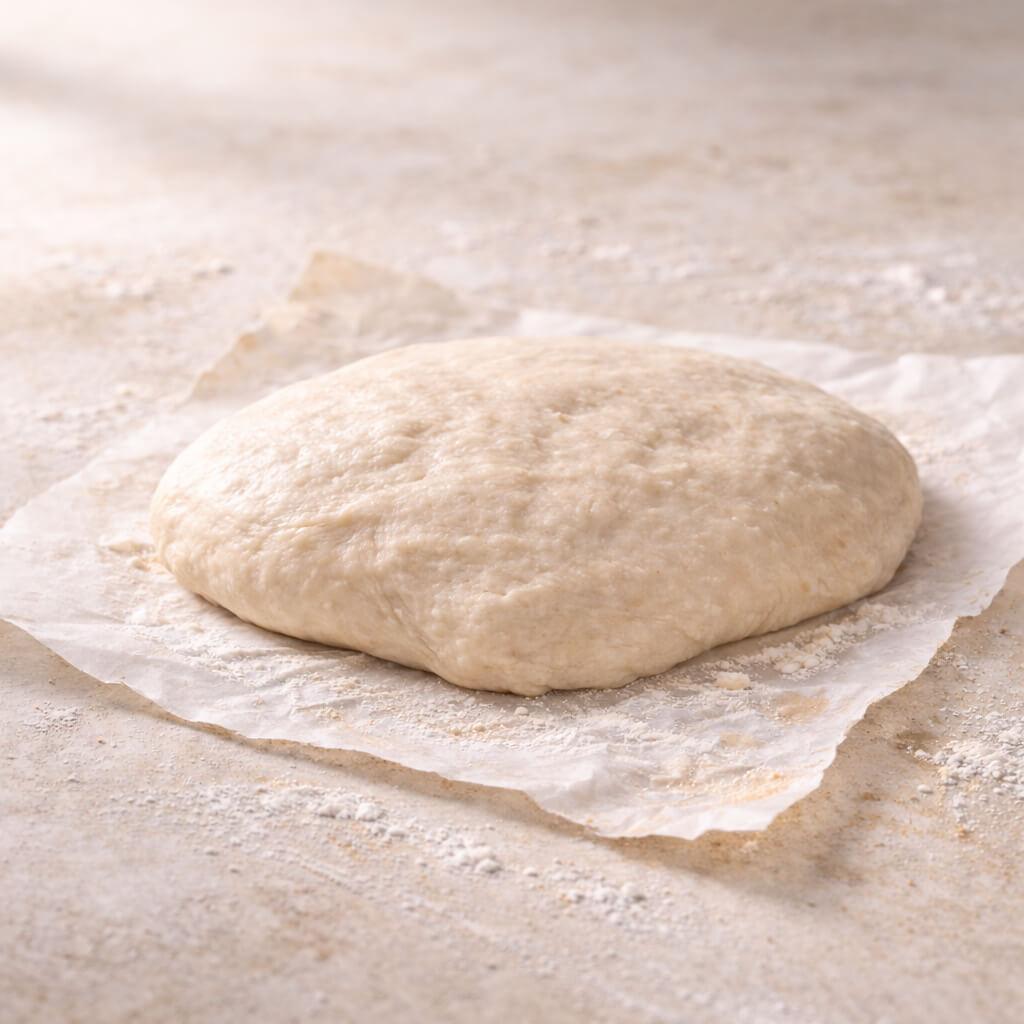
3. Low Hydration
Some loaves bake dense because the dough is too stiff to stretch easily.
What to look for:
- Dough feels stiff or firm
- Harder to stretch during shaping
- Dough resists widening and relaxing
- Crumb looks even, fine, and tight
What to change next time:
- Increase hydration slightly, about 2 to 3 percent at a time
- Weigh ingredients instead of using volume
- Let the dough rest before judging texture
- Reassess after a small change before adjusting further
Before changing hydration, check this first: If the dough tears instead of stretching thin, spreads instead of holding shape, or spins on the hook without real kneading contact, the problem may be underdevelopment rather than excess water.
If you want a deeper breakdown of how hydration changes crumb structure, see the full guide in the Dough Hydration Cheat Sheet.
4. Weak Gluten Development/Underkneaded Dough
Without a strong gluten structure, gas escapes instead of lifting the loaf.
Gluten is the framework that holds bubbles in place. If it’s weak, the dough spreads instead of rising.
What to look for:
- Dough tears instead of stretching thin
- No clear windowpane
- Dough spreads more than it holds shape
- Loaf bakes wider instead of taller
- Dough rides up the hook and spins without real pulling and folding
If the dough rides up the hook and just spins, it can look “mixed” while staying weak. These dough climbing up the dough hook fixes restore real kneading contact.
Often mistaken for “too wet,” this is frequently a development issue, not a hydration issue.
What to do next time:
- Mix slightly longer – Develop enough gluten so the dough stretches thin without tearing (windowpane test).
- Add stretch and folds during bulk fermentation – 2–4 sets spaced 20–30 minutes apart to strengthen structure without over-mixing.
- Build surface tension during shaping – Use gentle pulling and counter friction to create a tight outer ‘skin’ so the loaf lifts upward instead of spreading.
What to change next time:
- Mix a little longer so the dough stretches thin without tearing
- Add stretch and folds during bulk fermentation
- Build better surface tension during shaping
- Stop judging readiness by time alone
The windowpane test is one of the simplest ways to check whether the dough is strong enough before you stop mixing.
If your dough feels sticky and slack, review the signs in the Sticky Dough Feel Guide.
If your loaf spreads flat in the oven, the Why Bread Spreads Instead of Rising post breaks down that specific problem.
The windowpane test is the simplest way to confirm gluten strength before you stop mixing.
Here’s how long to knead dough with a stand mixer using visual stop-signs to prevent underkneading and dense bread.
If your dough feels sticky and slack, review the signs in the Sticky Dough Feel guide.
If your loaf spreads flat in the oven, the Why Bread Spreads Instead of Rising post breaks down that specific problem.
5. Weak Oven Spring
Without strong early steam, the crust sets too fast and limits expansion.
Oven spring only happens before the crust firms up. Steam delays crust setting, allowing maximum lift.
This guide explains the two common ways home bakers add steam, and why early steam keeps the crust from setting too
What to look for:
- Weak score opening
- Pale or dull crust
- Little oven spring
- Thick crust with a tighter interior
- Loaf looked more promising before baking than after
What to do next time:
- Preheat longer than you think you need
- Bake in a covered Dutch oven
- Add steam safely in the first 10–15 minutes
When hydration, steam, or doneness keeps throwing you off, the right tool can make the problem easier to spot and easier to fix.
Tools That Help Prevent Dense Bread
Technique comes first. But tools can reduce variability.
If your process is solid and results still fluctuate, the issue may not be skill — it may be measurement or environment.
Here’s where simple tools tighten control.
Use a Digital Scale for Consistent Hydration
Volume measurements introduce inconsistency. A “cup” of flour can vary significantly depending on how it’s scooped and packed.
That small difference changes hydration, and hydration changes crumb structure.
Inconsistent measuring is one of the biggest hidden reasons bread turns dense.
Weighing flour and water removes that guesswork.
If you’re adjusting water by 2–3%, it only works if you’re measuring accurately. A scale makes those small corrections meaningful.
If your loaf swings between tight and gummy, a digital scale is the simplest way to keep hydration consistent.
Use a Dutch Oven for Better Oven Spring
Early steam keeps the crust flexible so the loaf can expand fully during oven spring. Without it, the crust sets too quickly and limits lift.
A covered Dutch oven traps the dough’s natural moisture and creates a stable steam environment in the first 15–20 minutes.
If your crust sets too fast and oven spring stays low, a covered Dutch oven bake makes steam consistent without extra steps.
Use a Thermometer to Check for Gummy, Underbaked Crumb
Dense and gummy are not the same, but they’re often confused.
If your bread feels gummy, it may be underbaked rather than underproofed.
If bread is sliced too early or underbaked internally, the crumb compresses and feels heavy.
Most lean breads finish around 96–99°C (205–210°F) internal temperature.
A quick-read thermometer confirms doneness instead of relying on guesswork.
If you’re troubleshooting dense texture, make sure it’s fully baked before adjusting fermentation or hydration.
Tools don’t replace technique. They remove variables, so that your adjustments work.
The One Habit That Prevents Dense Bread
Weigh your ingredients.
Watch the dough, not the clock.
Most dense loaves aren’t ruined by big mistakes.
They’re nudged off course by small inconsistencies:
A little extra flour.
Ten minutes too short.
A dough that felt tight, but you baked it anyway.
When you weigh ingredients, hydration becomes intentional.
When you watch the dough, fermentation becomes visible.
You stop asking, “Is this right?”
You start noticing:
- It springs back slowly.
- It feels airy but strong.
- It holds tension when shaped.
Bread baking moves from guessing to recognizing.
And the next time you slice into your loaf, you won’t be bracing for disappointment.
You’ll already know what you’re about to see.
Open. Light. Airy
Mix it.
Bake it.