
Notice: I receive compensation if you buy something through affiliate links on this post. This does not change the price you would pay. As an Amazon Associate I earn from qualifying purchases.
You feed the pasta dough into the roller.
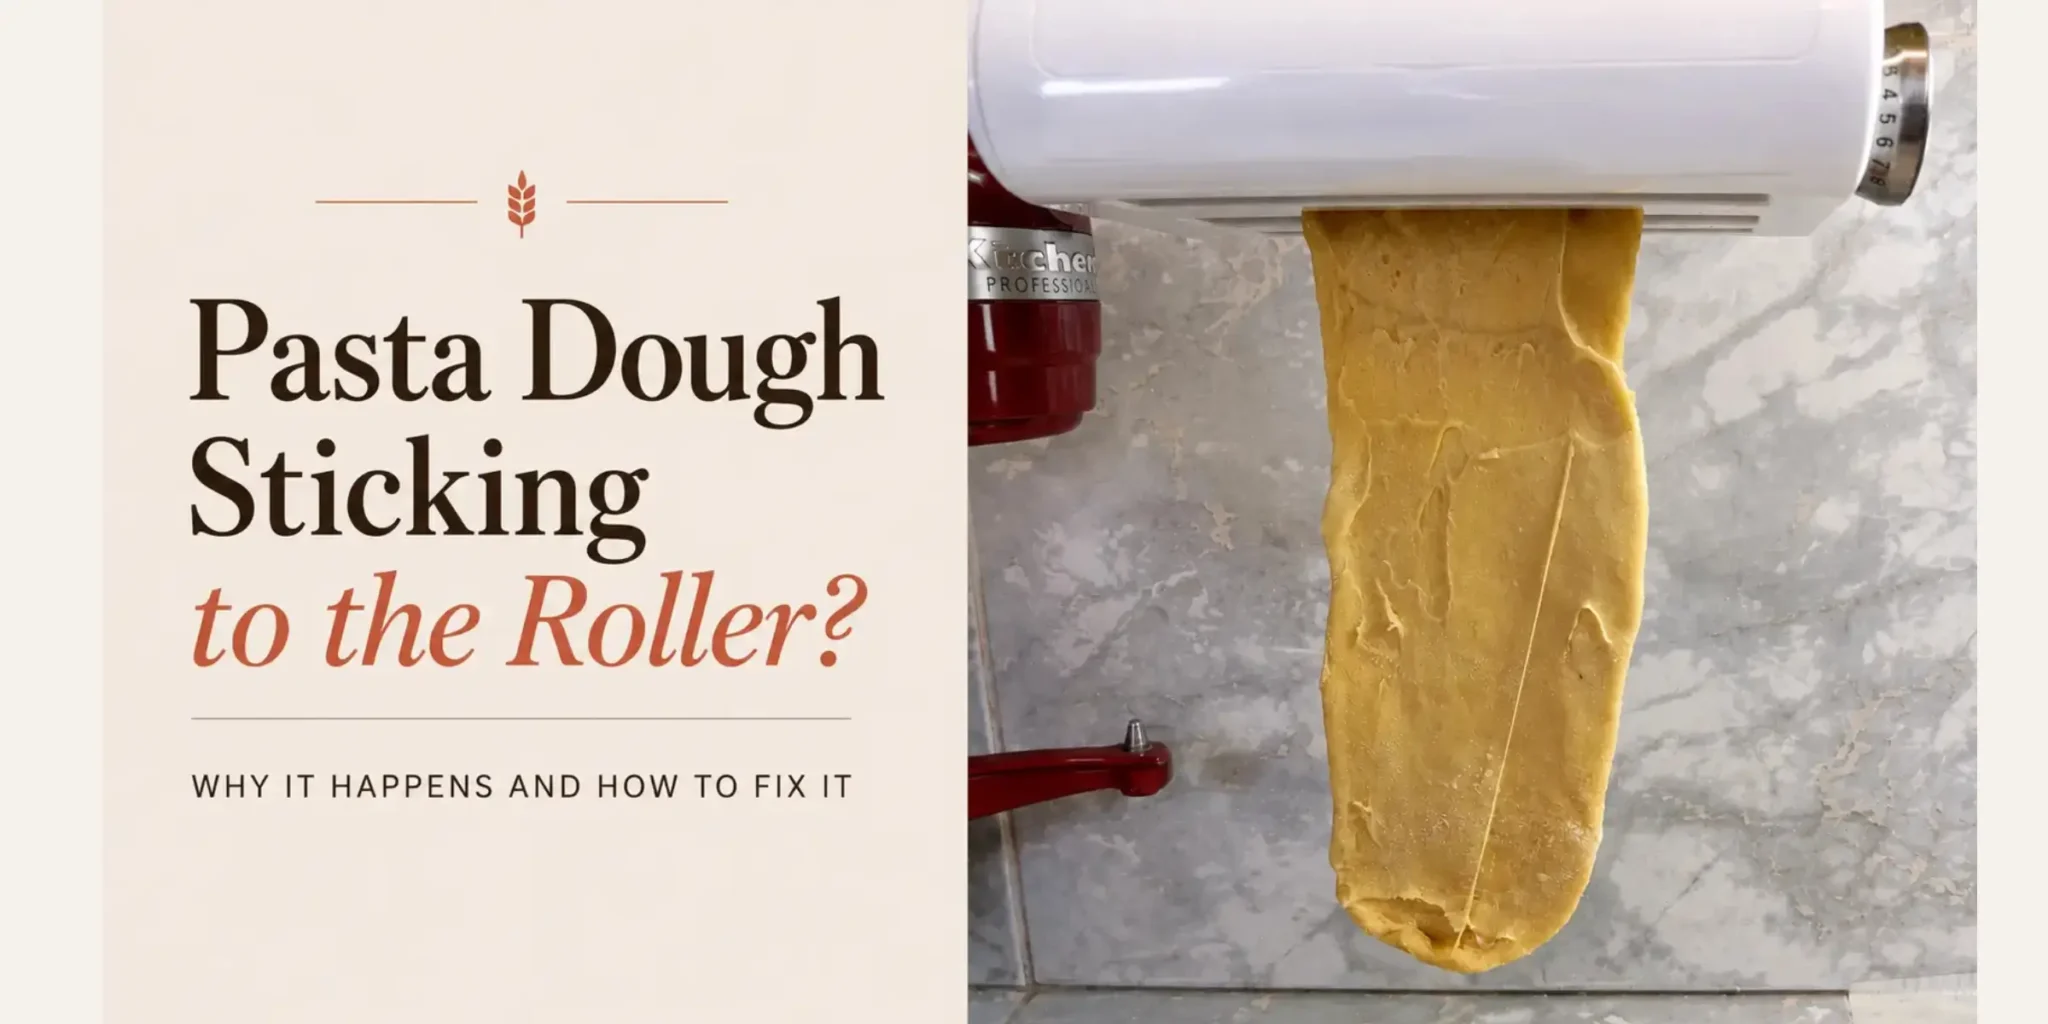
Instead of a smooth sheet, it sticks, smears, or wraps around the rollers.
Sometimes it rolls through, then jams in the cutters, leaving one sticky clump instead of clean strands.
Your hands are sticky.
The rollers keep grabbing the dough.
You’re left wondering if the dough is too wet, the machine needs cleaning, or you’re doing something wrong.
In this guide, you’ll learn how to identify the real cause and roll smooth pasta sheets that cut into clean, separate strands.
Key Takeaways
- Dough that’s too wet is the most common reason pasta sticks to the rollers. It should feel smooth, elastic, and slightly tacky, not sticky.
- Use the correct rolling technique. Flatten the dough first, start on the widest setting, and reduce the thickness gradually with each pass.
- Use a light dusting of flour before rolling and cutting to reduce sticking, but don’t rely on flour to fix overly wet dough.
- Keep the rollers and cutters clean. Dried dough and flour buildup can grab fresh dough and prevent smooth rolling and clean cuts.
- Get these four things right, and your pasta should roll into smooth sheets and cut into clean, separate strands.
Why Pasta Dough Sticks to the Roller
In my test, pasta dough sticking to the roller came down to four things. Two started with the dough. Two happened at the machine.
Dough That’s Too Wet
This was the biggest cause of sticking.
I compared several hydration levels using 102 g all-purpose flour and 51 g egg.
- +8 g water: Soft and workable but still had some resistance.
- +10–13 g water: The sweet spot. The dough was easy to knead, rolled smoothly, and maintained good structure.
- +15–16 g water: The dough became too soft. It stuck to my fingers and plastic wrap, sagged under its own weight, grabbed the rollers on the first pass, and the noodles clumped together after cutting.
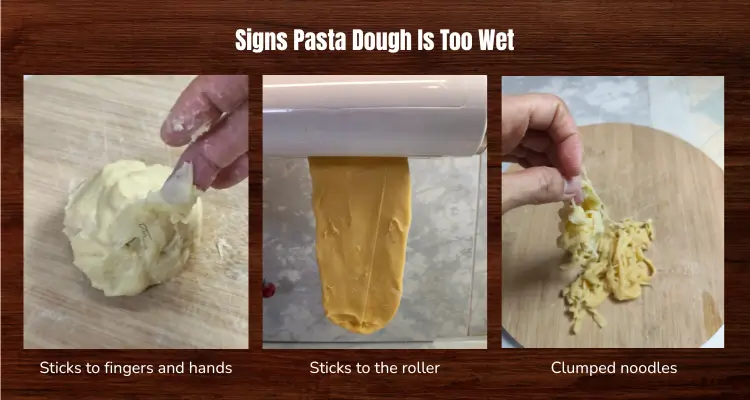
The takeaway was simple. If the dough already sticks to your fingers, it will probably stick to the rollers too.
These hydration levels worked for my flour, eggs, kitchen conditions, and mixing method.
Your sweet spot may be different. Flour type, egg size, humidity, and even how long you knead the dough all affect how much water the dough can handle.
Instead of chasing an exact hydration, look for the dough that you can manage comfortably. It should feel smooth and elastic, roll without sticking, hold its shape instead of sagging, and cut into clean, separate strands.
Incorrect Rolling Technique
Even well-made dough can stick if it’s fed into the machine incorrectly.
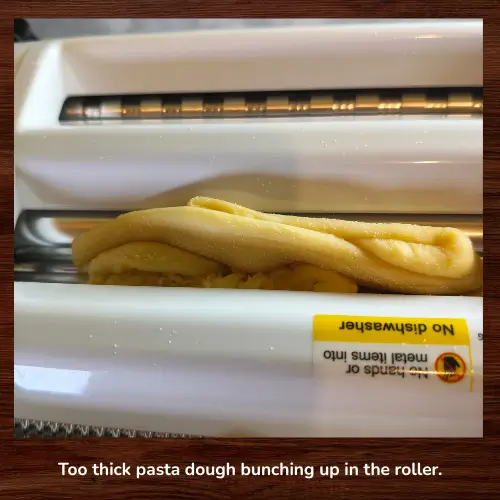
During my test, I fed a piece of dough that was too thick for the setting on the first pass. Instead of flattening smoothly, it bunched up and the rollers grabbed it.
The leading edge can also curl back toward the rollers as it emerges, causing the sheet to catch instead of feeding forward.
This is more likely with longer or softer sheets that are harder to support.
Different pasta machines can behave differently, too.
Roller widths, clearances, and feeding characteristics vary between brands and models, so dough that feeds smoothly through one machine may catch more easily in another.
The best technique is the one that works consistently with your machine.
Not Enough Flour Dusting
Even properly hydrated pasta dough can stick if there isn’t enough flour on its surface.
As the dough passes through the rollers, direct contact with the metal can cause it to grab instead of sliding through smoothly.
A light coating of dusting flour acts as a barrier between the dough and the rollers. If too little flour is present, that barrier breaks down and sticking becomes more likely.
However, if the dough still sticks after a light dusting, the problem is usually excess surface moisture from dough that’s too wet, not a lack of flour.
Dirty Rollers and Cutters
Dried dough trapped inside the cutters caused another type of sticking.
Instead of clean strands falling from the cutter, the noodles crumpled together as they came out.
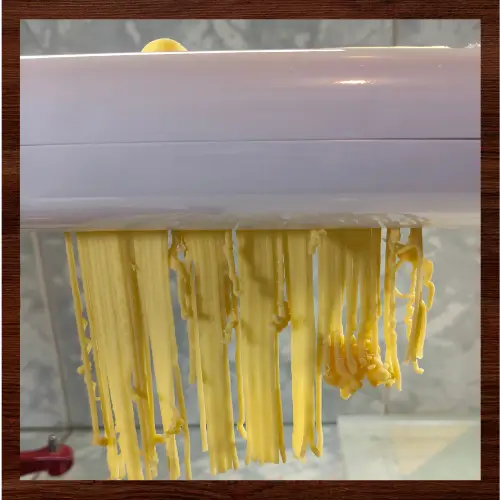
Cleaning dried dough from the rollers and cutters before each session restored clean cuts.
Easy Fixes When Pasta Dough Sticks to the Roller
Once you’ve identified what’s causing the sticking, use the fix that matches the problem.
1. Remove the Dough and Clean the Machine
If the dough has wrapped around the rollers, stop rolling immediately.
Gently pull or cut away the stuck dough without forcing the rollers. Let any remaining bits of dough dry completely, then remove them with a dry pastry brush, soft brush, or wooden skewer.
Avoid using water, soaking the machine, or applying oil unless the manufacturer specifically recommends it.
2. Adjust the Dough Until It’s Tacky, Not Sticky
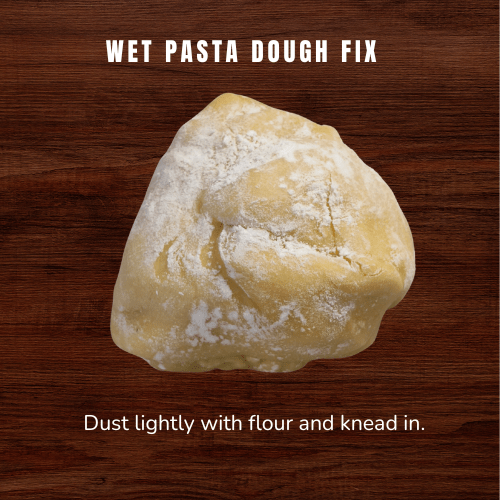
If your dough sticks to your fingers before rolling, it’s probably too wet for the machine.
Flatten the dough slightly and knead in about 1 tablespoon of flour at a time until it:
- Feels smooth and elastic
- Springs back lightly when pressed
- No longer leaves residue on your hands or work surface
The goal is tacky, not sticky. The dough should lightly grip your skin without clinging to it.
If you accidentally add too much flour, knead in a few drops of water until the dough becomes workable again.
Remember
The exact amount of flour you’ll need depends on your flour, eggs, humidity, and mixing method. Instead of chasing a specific hydration, aim for a dough that rolls cleanly and feels comfortable to handle.
3. Use the Correct Rolling Technique For Your Machine
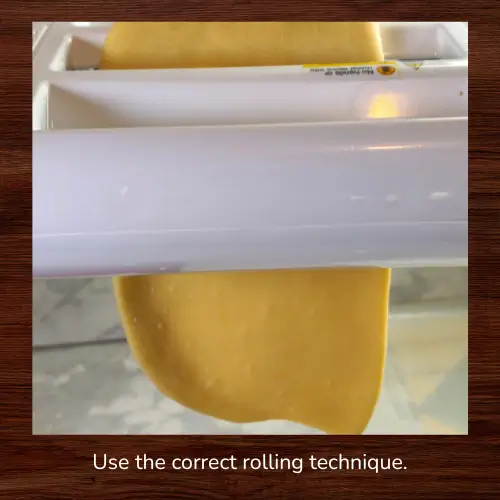
Good dough can still stick if it’s fed into the machine poorly.
Flatten the dough into a rough rectangle before rolling and start with the widest roller setting.
As the sheet first emerged from the rollers, I found it helped to catch the leading edge with my hand.
This prevented it from curling back and catching on the rollers and cutters.
Once the leading edge was clear, I simply let the rest of the sheet hang under its own weight as it continued feeding through
Feed the dough in one smooth motion without stopping halfway through.
This worked especially well with my Antree 3-in-1 pasta attachment.
Keep in mind that not all pasta machines behave the same way. Roller widths, clearances, and feeding characteristics vary between brands and even between models.
King Arthur Baking has a helpful guide on using a pasta machine correctly.
4. Dust Only as Much as Needed
Dusting flour reduces surface stickiness, but it isn’t a cure for wet dough.
Lightly dust both sides of the sheet just before rolling.
If the dough still feels tacky after the first pass, dust lightly again before the next pass. If it rolls cleanly, skip the extra flour.
I prefer semolina or semola rimacinata over all-purpose flour for dusting.
In my experience, I needed less flour and had to re-dust less often.
Because the particles are coarser than all-purpose flour, they stay on the surface longer and act like tiny ball bearings between the dough and the rollers, reducing friction and helping the sheet glide through more smoothly.
If you already make pasta with semola rimacinata, it doubles as an excellent dusting flour.
Coarse semolina is another excellent option and is commonly used for dusting fresh pasta.
All-purpose flour works in a pinch but usually needs to be reapplied more often.
Think of dusting flour as a finishing adjustment, not a substitute for properly hydrated dough.
Recommended Dusting Flours
Both of these flours work well for dusting fresh pasta. I use semola rimacinata because I also use it for making pasta. Coarse semolina is another excellent choice if you prefer a dedicated dusting flour.

Polselli Semola Rimacinata
Ideal if you use semola for making pasta and want one flour that also works beautifully for dusting.

King Arthur Semolina
A coarse semolina that’s excellent for dusting pasta sheets before rolling and cutting.
5. If the Dough Sticks in the Cutters
A sheet that rolls well can still stick when it reaches the cutters.
Let the Surface Dry Slightly
If the sheet feels soft or shiny after the final pass, lay it on a lightly floured surface for 1–2 minutes before cutting.
You’re only allowing the surface to firm up, not drying the pasta.
Dust Before Cutting
Lightly dust both sides of the sheet with semolina or flour before feeding it through the cutters.
As the noodles fall, toss them gently with flour so they separate instead of clumping together.
During my test, extra dusting couldn’t prevent clumping when the dough itself was too wet.
If the noodles still stick together despite flour, reduce the dough’s hydration instead of adding more dusting flour.
Clean the Cutters
Dried dough inside the cutters can crumple fresh noodles and prevent clean cuts.
Brush away any dried residue before making another batch.
How Sticky Should Pasta Dough Be Before Rolling?
The ideal pasta dough should feel:
- Smooth and elastic
- Soft but not floppy
- Slightly tacky when pressed, but it shouldn’t stick to your fingers
- Dry enough to pass through the rollers without leaving residue
If the dough clings to your hands before rolling, it’s usually too wet. If it feels stiff, cracks, or tears as you flatten it, it’s probably too dry.
Keep in mind that there’s no single “perfect” hydration.
Flour type, egg size, humidity, and mixing method all affect how much water your dough can handle.
How To Clean Pasta Rollers and Cutters
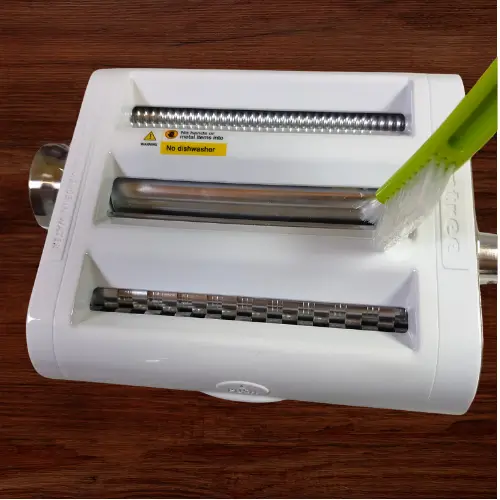
Dried bits of dough left behind in the rollers or cutters can grab fresh dough the next time you make pasta, causing the sheet to stick or the strands to crumple instead of falling cleanly.
Because pasta machines vary in design, always follow the manufacturer’s cleaning and maintenance recommendations for your specific model.
To clean the machine:
- Let any stuck dough dry completely.
- Brush away the dried pieces with a dry pastry brush, wooden skewer, or toothpick.
- If your machine allows you to rotate the rollers while cleaning, do so to expose trapped residue.
- If your machine has detachable covers or other parts that provide better access, remove them according to the manufacturer’s instructions. My Antree attachment has a detachable cover, which makes it much easier to clean dough from the roller and cutter nooks and crevices.
- Avoid soaking the machine or letting water get inside, as moisture can damage the internal components and lead to future problems.
- If your manufacturer recommends lubricating the machine, apply lubricant only where specified. Keep it away from the rollers and cutters, as oil mixed with flour quickly forms a sticky paste that causes dough to grab instead of glide.
For model-specific cleaning guidance, see Marcato’s guide to cleaning pasta machines.
Roll Smooth Pasta Sheets with Confidence
The next time you feed pasta dough into the rollers, you shouldn’t have to wonder whether it’ll stick, smear, or wrap itself around the machine.
Instead, watch how the dough behaves.
Does it feel tacky or sticky?
Does it feed through smoothly or grab the rollers?
Does it come out as a clean sheet or bunch up before it reaches the cutters?
Those small observations will tell you what needs to change.
Don’t focus on chasing someone else’s hydration numbers or copying their technique exactly.
Aim for a dough that works in your kitchen and with your pasta machine.
With a few small adjustments, you’ll spend less time peeling dough off the rollers and more time watching smooth sheets turn into clean, fresh pasta.
Ready to level up your pasta nights?
If you’re comparing KitchenAid accessories, start with my KitchenAid Pasta Attachments Guide to see what each attachment does and which one fits your cooking style.
If you already know you want the classic roller and cutters, read my KitchenAid Pasta Roller & Cutter 3-Piece Set Review to see how it performs, what I like, and whether it’s worth the investment.