
Notice: I receive compensation if you buy something through affiliate links on this post. This does not change the price you would pay. As an Amazon Associate I earn from qualifying purchases.
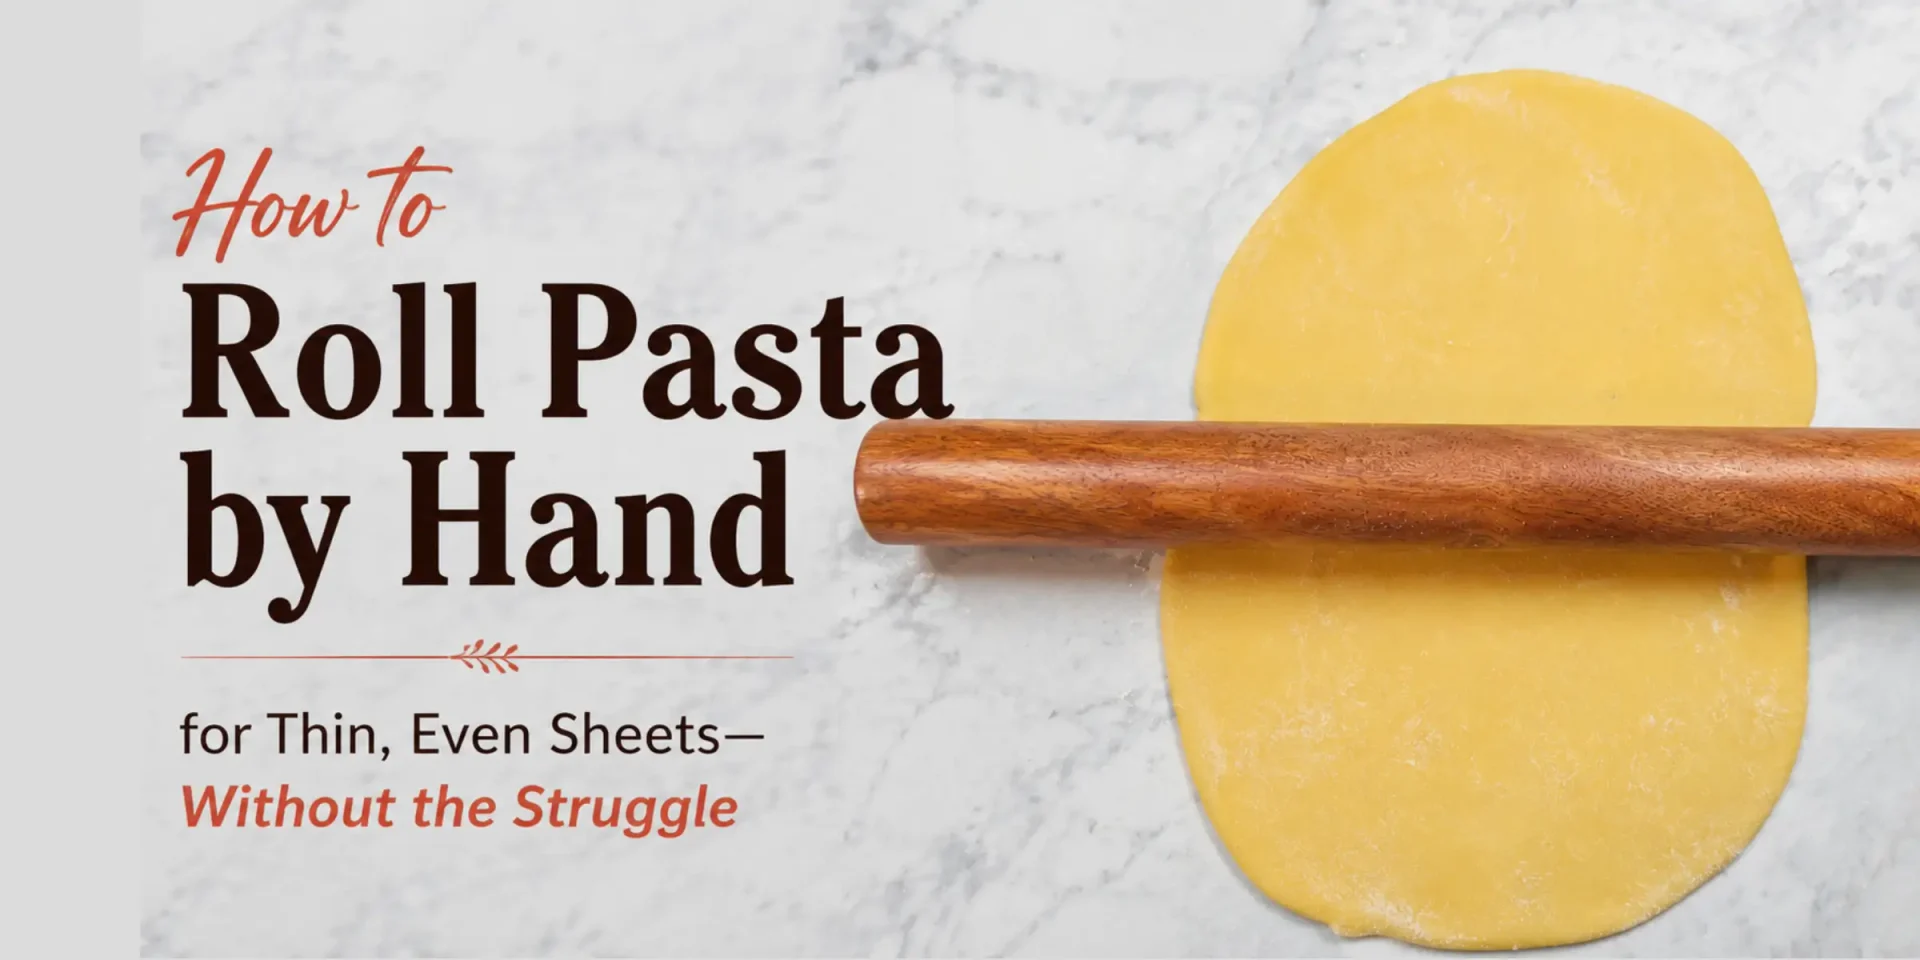
Your pasta dough starts small and easy to roll.
A few passes later, the sheet stretches across the counter.
It gets thinner, but the center stays thick.
You turn it again, and the edges wrinkle or the sheet starts losing its shape.
You roll harder, trying to even it out.
But rolling pasta by hand shouldn’t feel like a workout.
In this guide, I’ll show you how to roll pasta by hand using basic rolling and the wrap-and-roll technique.
I tested both methods to see which made it easier to get a thin, even sheet and which required less effort.
- Start with basic rolling. Rotate the dough regularly as you thin it.
- Switch to wrap-and-roll once the sheet gets thin. It makes turning and repositioning easier.
- Roll gradually. Light, even pressure helps maintain an even thickness.
- Dust only as needed. Too much flour can dry the dough.
- The combined technique worked best in my test. It required less effort and produced a smoother, more even sheet.
What You Need to Roll Pasta by Hand
You don’t need a pasta machine to roll fresh pasta, but you do need enough room for the dough to expand. A small piece can quickly turn into a large sheet as it gets thinner.
- Rested pasta dough: Resting relaxes the dough so it’s easier to stretch and less likely to spring back while you roll.
- A long rolling pin or matarello: A long, straight pin gives you more control as the sheet gets larger and lets you use the wrap-and-roll technique. I used a 50 cm matarello for my test.
- A large, clean work surface: Give yourself more space than you think you’ll need. The sheet will spread considerably as you thin it.
- Flour for dusting: Keep a small amount nearby in case the dough starts sticking. Use it lightly. You don’t want to keep adding flour to a dough that’s already the right consistency.
- Bench scraper: Helpful for lifting the dough that catches on the work surface and for cleaning away bits of dried dough or flour as you work.
Can You Use a Regular Rolling Pin?
Yes. A regular rolling pin works for basic rolling, especially with a small batch of pasta dough. But a long, handle-free matarello is more useful as the sheet gets larger and thinner.
The extra length lets you roll across more of the sheet at once, and because the dough can wrap around the pin, you can use the wrap-and-roll technique to thin and reposition the sheet without repeatedly lifting the whole sheet from the counter.
If you’re buying a rolling pin specifically for hand-rolled pasta, look for a long, handle-free matarello like this one. The 24-inch length gives a growing pasta sheet plenty of room to wrap around the pin for the wrap-and-roll technique.
Check Price →As an Amazon Associate, I earn from qualifying purchases.
Prepare the Pasta Dough for Rolling
Before you start rolling, the dough should be rested, covered, and divided into a size that’s manageable. Good preparation makes it easier to stretch the dough evenly without fighting it.
Let the Dough Rest
Resting gives the gluten time to relax, so the dough stretches more easily and springs back less as you roll. Keep it tightly covered while it rests so the surface doesn’t dry out and form a skin.
If you’re starting with freshly mixed dough, see How Long to Knead Pasta Dough before resting and rolling it.
Divide the Dough
If you’re working with a larger batch, divide it into manageable portions before rolling. Keep the pieces you’re not using covered while you work so they stay soft and don’t dry out.
For a small batch, you may be able to roll the entire piece at once as long as you have enough work surface.
Flatten the Dough First
Press the rested dough into a relatively even disk before you start rolling. This gives you a more uniform starting thickness and makes it easier to maintain the shape of the sheet as it expands.
It doesn’t need to be thin yet. The goal is simply to avoid starting with a thick mound that takes extra effort to flatten with the rolling pin.
How to Roll Pasta by Hand
There are two basic ways to work the dough with a rolling pin. You can continue basic rolling and rotating until you reach the final thickness, or start with basic rolling and switch to wrap-and-roll once the sheet becomes thin enough to wrap around a matarello.
I tested both approaches. Here’s how to do each one.
Method 1: Basic Rolling
1. Roll From the Center Outward
Place the flattened dough on your work surface and position the rolling pin across the center.
Apply firm, even pressure and roll from the center toward the edge. Return to the center and roll toward the opposite edge. This gradually spreads the dough without repeatedly compressing the same area.
2. Rotate the Dough
Rotate the dough about a quarter turn and continue rolling from the center outward.
Keep rotating periodically as you work. Changing direction helps the dough expand more evenly instead of stretching into one long, narrow sheet.
Lift the dough as you rotate it to check for sticking. If necessary, lightly dust the work surface or dough with flour or semolina. Use only enough to keep it moving freely.
3. Continue Rolling Until Thin
As the sheet gets larger, lengthen your rolling strokes so you’re working across more of the dough.
Gradually reduce the pressure as the pasta gets thinner. Run your hand lightly over the sheet or lift it to check for areas that still feel thicker, then concentrate your rolling there rather than continuing to thin the entire sheet.
Continue rolling, rotating, and checking until the pasta reaches the thickness you need.

Method 2: Basic Rolling + Wrap and Roll
With this method, you start exactly as you would with basic rolling. The difference comes once the sheet is thin and large enough to wrap comfortably around the matarello.
1. Start With Basic Rolling
Roll from the center outward, rotating the dough periodically to build an even sheet.
Don’t try to wrap the dough while it’s still small and thick. Continue basic rolling until the sheet is large and flexible enough to wrap smoothly around the matarello.
2. Wrap the Dough Around the Matarello
Place the matarello near one edge of the sheet and begin wrapping the dough around it.
Keep the sheet smooth as it wraps. Avoid folds or wrinkles, which can create uneven areas when you roll over them.
3. Roll the Wrapped Dough
Once part of the sheet is wrapped around the matarello, roll the pin forward with controlled, even pressure.
As the matarello moves, more of the sheet wraps around it while the pressure gradually stretches and thins the dough.
Leave a small portion of the sheet unwrapped. This helps prevent the layers from pressing together and fusing, and gives the sheet a loose end that makes it easier to unroll.
There’s no need to press hard. As the pasta gets thinner, use lighter pressure to avoid stretching one area more than another.
4. Turn the Matarello and Unwrap
Lift the matarello with the dough still wrapped around it and turn the pin end to end (180 degrees). Place it back on the work surface, then roll forward to unwrap the dough onto the counter.
This changes the direction you’re working the dough without having to lift and turn the entire thin sheet.
Repeat the wrap, roll, turn, and unwrap sequence until the pasta reaches the desired thickness.

This wrap-and-roll approach is also used in traditional Italian sfoglia making, where the sheet is wrapped around the rolling pin as it becomes larger and harder to turn by hand.
Basic Rolling vs Wrap and Roll: My Tests
I wanted to see whether the wrap-and-roll technique actually made hand rolling easier or whether basic rolling was enough for a small batch of pasta dough.
How I Tested the Two Techniques
I mixed two separate batches using the same dough formula, flour, and hydration. I also kept the kneading time, resting time, matarello, and work surface the same.
For the first batch, I used basic rolling with quarter-turn rotations from start to finish.
For the second, I started with the same basic rolling technique. Once the sheet was thin enough to wrap easily around the matarello, I switched to wrap-and-roll to finish thinning it.
What I Compared
I looked at:
- Ease of rolling
- Physical effort
- Ease of getting the dough thin
- Evenness of thickness
- Size and shape of the finished sheet
- Sticking, tearing, and wrinkling
My Results
Both techniques produced a pasta sheet less than 1 mm thick, so either method can get the dough equally thin.
The biggest differences were in handling, effort, and the shape of the finished sheet.

Basic rolling took longer.
As the sheet became larger and thinner, each quarter turn required me to carefully lift the dough, rotate it, and lay it back down evenly.
I also had to reduce the rolling pressure as the dough thinned to avoid stretching some areas more than others.
The finished sheet had some wrinkles and developed a more awkward, irregular shape.
The combined technique was much more straightforward. The large pasta sheet was supported by the matarello, and it was so much easier and faster to lift, turn, and lay it on the counter again.
It required less physical effort and produced a more even, better-shaped sheet without wrinkling.
Which Technique Is Better for Beginners?
Based on my test, I’d recommend basic rolling followed by wrap-and-roll, even for a small batch.
Basic rolling works well for getting the dough started, while wrap-and-roll makes the later stages easier to manage.
The transition is simple: once the sheet is thin enough to wrap comfortably around the matarello, switch techniques and continue until you reach your desired thickness.
For a beginner, this means you can use each technique where it’s most useful rather than trying to manage a large, delicate sheet with basic rolling alone.
How Thin Should Hand-Rolled Pasta Be?
There’s no single correct thickness for hand-rolled pasta. How thin you roll it depends on the pasta you’re making and the texture you want after cooking.
Instead of trying to hit an exact measurement, pay attention to how the sheet looks and feels. It should be thin, flexible, and relatively even, without noticeably thick patches.
For tagliatelle or fettuccine, the sheet can be a bit thicker and have more bite.
Filled pasta, such as ravioli benefits from a thinner sheet so the folded or sealed edges don’t become too thick.
Lasagna sheets can also be slightly thicker, depending on the texture you prefer.
Remember that fresh pasta swells slightly as it cooks, so a sheet that looks just right on the counter will feel thicker once cooked.
The Transparency Test
Being able to faintly see your hand or the work surface through the dough is a useful visual sign that you’ve rolled the pasta quite thin.

Lift part of the sheet and place your hand behind it. You should be able to see a faint shadow through the dough without the sheet feeling fragile or tearing easily.
But transparency isn’t a requirement for every type of pasta. Tagliatelle, fettuccine, and lasagna don’t need to be paper-thin to cook well.
Use the transparency test as a guide rather than a rule. The goal is an even sheet at a thickness that suits the pasta you’re making.
Common Problems When Rolling Pasta by Hand
As the pasta sheet gets larger and thinner, small differences in thickness, pressure, and dough consistency become easier to notice. Most problems can be corrected while you’re rolling.
The Pasta Sheet Is Uneven
Start with an evenly flattened piece and rotate the dough regularly during basic rolling. This helps you work the sheet from different directions instead of repeatedly stretching the same areas.
As the dough thins, run your hand over the sheet to find thicker spots and concentrate your rolling there.
Use progressively lighter pressure and avoid repeatedly rolling over areas that are already thin just because the pin naturally travels across them.
Dough Sticks to the Counter or Rolling Pin
Lightly dust the dough or work surface with flour or semolina when it begins to stick.
During basic rolling, lifting the sheet as you rotate it also gives you a chance to check underneath.
Avoid adding flour after every pass if the dough isn’t sticking. Too much can dry the surface and make the edges more prone to cracking.
If the dough remains sticky despite light dusting, the problem may be the dough rather than your rolling technique.
A dough that’s too wet can stick repeatedly to both the counter and the matarello.
If sticking continues despite light dusting, see Why Pasta Dough Sticks to troubleshoot the dough consistency and other causes.
Dough Keeps Springing Back
If the dough shrinks as soon as you roll it, the gluten is still too tight.
Cover the dough and let it rest longer before trying again. A properly rested dough should gradually stretch under the rolling pin rather than continually pulling back to its original shape.
The Center Is Thicker Than the Edges
It’s easy to thin the edges while leaving extra thickness in the center, especially as the sheet gets larger.
Feel across the dough to locate the thicker area, then direct your rolling strokes through the center.
Reduce pressure as the pin reaches the already-thinner areas so you don’t continue thinning the edges unnecessarily.
The Pasta Sheet Develops an Awkward Shape
A hand-rolled sheet doesn’t need to form a perfect circle or rectangle. Some irregularity is normal.
During basic rolling, quarter-turn rotations help the dough expand more evenly.
If one area starts extending much farther than the others, adjust the direction and pressure of your next rolls to work the shorter or thicker areas instead.
Once the sheet becomes large and thin, switching to wrap-and-roll can also make it easier to maintain the shape without repeatedly lifting and repositioning the entire sheet.
The Edges Crack or Tear
A few rough or slightly cracked edges aren’t necessarily a problem, especially if the rest of the sheet is smooth and flexible.
Deeper cracks, frequent tearing, or edges that keep breaking as you roll can indicate that the dough is too dry or hasn’t rested long enough.
If the dough still feels tight, cover it and give it more time to rest.
If it feels dry and brittle throughout, the dough may be too dry.
Do You Need a Pasta Machine?
No. You can roll pasta thin enough by hand with a rolling pin or matarello.
Hand rolling also gives you direct control over the sheet, since you can feel thicker areas and concentrate your rolling where they’re needed.
A pasta machine makes the process faster and produces more consistently uniform sheets.
Instead of judging thickness by feel, you progressively reduce the roller setting until you reach the thickness you want.
It’s especially convenient when you’re making larger batches or want evenly sized sheets.
Hand rolling takes more time and workspace, while a machine requires additional equipment and setup. Neither method is inherently better; they simply suit different ways of making pasta.
If you already own a KitchenAid stand mixer, a pasta roller attachment is another option. See my KitchenAid pasta attachment guides and reviews for more on using stand-mixer attachments to roll and cut fresh pasta.
From a Small Disk to a Thin, Even Sheet
The dough starts small and easy to manage.
Then it stretches wider, gets thinner, and suddenly turning the whole sheet feels like the hardest part.
That’s where wrap-and-roll changes the process. Instead of carefully lifting and repositioning a delicate sheet, the dough is supported around the matarello as you turn and continue rolling.
Start with basic rolling, switch once the sheet gets thin, and keep going until it feels flexible and even beneath your hands.
Soon, that small disk of dough is a thin sheet stretched across the counter—ready to cut, fill, or layer into pasta.